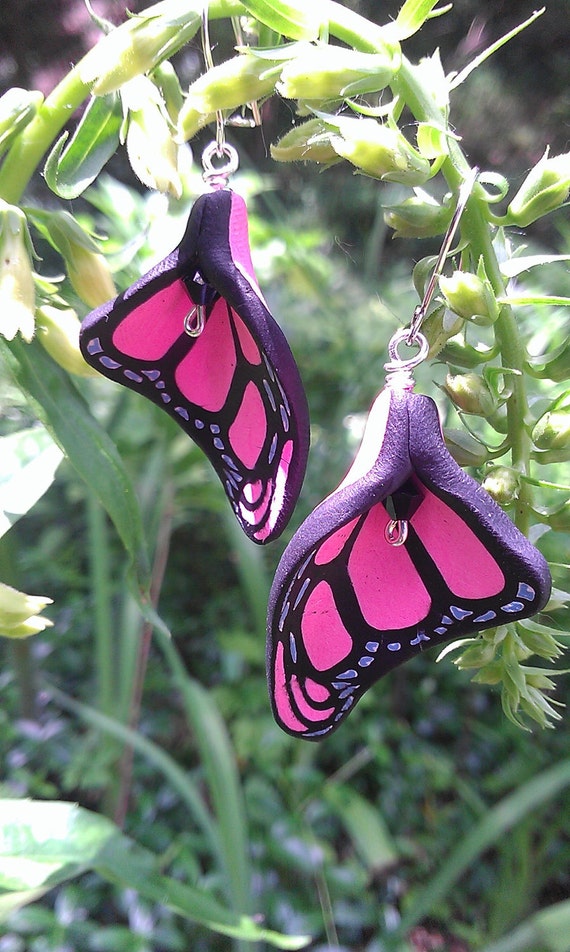
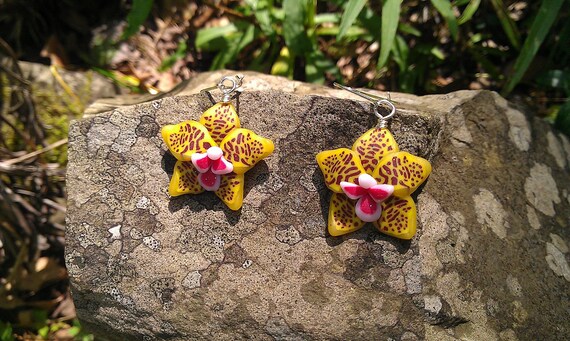
Pink. Pink, Pink, Pink, PINK!!!!!


 Bubblegum core ... Silver reaction ..... 1/2 over opal yellow, 1/2 over white
 I’ve been privy to some chatter lately about Moretti Rubino Oro glass (#456), AKA gold pink,or gold cranberry pink. It seems that some folks are afraid to use it, or even dislike it! Now that’s a travesty. Rubino Oro is one of the most beautiful colors you can use, not to mention that it has some amazing qualities that I've found I just can’t live without. So I’m here to give you a few pointers on using it- hopefully this will be helpful.
1)
Keep cool, man- Rubino, like many other pinks, prefers a cool flame, so you’re going to have to be ready to take your time with this. Otherwise, the color won’t be all that it can be. I work this glass on a hothead, and really have no trouble getting it to be a nice pink, even when the rod starts out looking clear. If it doesn’t seem to be ‘striking’ (changing color), heat and cool it a couple of times. But don’t overheat it to a molten mess.
2)
Silvery grey away- Sometimes, on the end of the rod, or on your bead, you will see a bit of shiny, silvery-grey. You most likely don’t want this on your finished bead. What's happening?Your glass is being exposed to a flame that has a bit too little oxygen- it’s 'reducing'. This can actually be used for some effects, but to get rid of it, just add a bit of oxygen to your flame. On a hothead, I find it generally means I have the flame just a bit too high, so I lower it a little. It also seems to help to be just at the tip of the blue flame cone rather than higher in the flame.
3)
Just a little bit- Rubino oro is a very saturated color. If you use it all alone to make a bead, it will probably end up being an ugly muddy mess. So, you should try one of these things.
...a) Make a small core bead of Rubino and encase it in clear (or a very light transparent).
...b) Make a white (or light colored) or clear core and encase it in a thin layer of Rubino.
...c) Layer. You can do something like make a base of pastel uranium yellow, cover with a thin layer of rubino, and encase that with a nice pale purple. Layering like this adds subtle color variations. You'll just have to experiment with different combinations and see what you like.
I don’t recommend you use the Rubino on ivory. That’s not a friendly reaction.
...d) Use it as an accent color. It’s such a deep color that a little goes a long way.
4) What’s your reaction? Oh, there has been so much written about this, and there are so many possibilities, that I’m afraid you’re just going to have to try it out! Here are a few suggestions:
...a) Try it over opal yellow for a lovely pinky-brown color
...b) Use a bit of light aqua (232) on top as dots or lines- there will be a dark pool in the middle of the dots, or a dark line through the middle of the line. Try this with some other colors like periwinkle blue (220).
...c) Use it as small dots or lines either over or under silver foil. If using dots under the foil, heat it up slowly until a mesh-like pattern forms.
...d) Use bubble gum pink as the base bead for a nice deep pink.
There are problems you will run across from time to time. It may get a chalky or bubbly surface. I think the bubbly surface comes from simply overworking, and if it happens you're kind of out of luck. As far as the chalky look, that could be a bit of devit. You might be able to bring back the sheen by heating it up a bit more. There's a bead in the kiln right now that I tried this on, and I think it worked. I'll let you know!
Yes, even if you follow these tips, you will have some bad beads from time to time- even some awful beads. But just keep at it, pay attention, and maybe even take a few notes, and I think you’ll be very happy that you tried out this fantastic glass.
Here's a discussion about Rubino reactions:
And a great tutorial that shows how to use Rubino with silver:
If you need more info, you might consider the 'think pink' a tutorial by Sarah Hornik, available here:
Now get torching!!!!!