Showing posts with label coe 104. Show all posts

Tuesday, October 25, 2011

Portal bead goes to Austria

One of my portal beads is the focal for this lovely piece, made by Marianne Cornelius (see link below)
It is made of woven silver wire with garnets.
Marianne paints some wonderful watercolors, as well as making some very nice jewelry pieces. I have no idea how she found my beads on etsy, but I'm glad she did!
The neckpiece is currently on display at this gallery in Vienna, Austria- http://www.spiegelgasse8.com/ 
I am always so excited to have something of mine travel to another country, and having Marianne use one of my beads as a focal to be displayed in a gallery in Vienna of all places was doubly exciting!

Please go here to see more of Marianne's wonderful work:
http://www.mariannecornelius.com/


Monday, July 11, 2011

Lampwork Glass Bead Rescue and Repair

Here's my newest observation- wind is the enemy at outdoor shows. Well, not really a new observation, but still important. I was reminded of this recently when the wind grabbed my table and flipped it completely over onto my beads, which were now on concrete. The result? Too many broken beads. After a couple of days moping around, and the comment ' fire polish them' niggling in my brain, I realized that I had a kiln and I am not afraid to experiment with it. So I grabbed a couple of my minorly 'scuffed' beads, jammed them onto some sludged mandrels, and got to work. I'm here to tell you what I learned, just in case you need the info some day. I'm not going to go through the whole grueling process, but will just get right to my recommendations.

There's one person I need to thank for suggestions and ideas in all of this- that's Lynne of Fireball Beeds. She had some great ideas and suggestions to help me along the way. Here's her blog: http://islandgirlsinsights.blogspot.com/

The repairs I have done are fairly minor- fish fins, eyes, scuff marks and small dings. These types of repairs go pretty quickly. This is by no means a foolproof method. Sometime beads crack or break dramatically during the process. But I had a lot of lemons on my hands, and I just needed to try and make some lemonade!

********NOTE: Your safety is your own concern. I am not recommending that you try any of these procedures, just telling you what I have done. **********
Here's what I do:

1) Put the beads on sludged mandrels. I have tried this with both wet and dry mandrels. Either can work, though it is nearly impossible to push a bead down onto a dry mandrel. If using wet sludge, it helps to make it a bit thin. I put the bead on the mandrel, pull it off and wipe off the wet sludge, then put it on again. This helps me keep from getting a lot of junk at the end of the bead.

Either way, I like to put a 'stop' at the handle end of the sludge to keep the bead from falling onto my hand- a bit of thick sludge that the bead cannot slide over. Since the bead can get loose when heated, I am extra careful not to point the mandrel down so that the bead can fall onto my hand, the floor or the table. The stop needs to be made with thicker sludge.

2) Put the beads into a room temperature kiln with the ends sticking out 4-6 inches. I only put in about four at a time since I don't want to take a chance that they will touch each other and stick together. If that happens they will certainly be ruined. I turn the kiln to a low temperature and slowly ramp up to about 800 degrees. My kiln does not have a digital controller, so I turn it to low until it reaches about 300 degrees, then turn it to 3 until it reaches about 600 degrees, then 5 up to 850 or so. After that it can be allowed to ramp up quickly. The target temperature is 1200 degrees. I keep an eye on it so that it doesn't get any hotter than that.

3) Let the beads 'soak' for 5-10 minutes at between 1100 and 1200 degrees. This allows the heat to get to the core of the beads. Lynne likes to hold at 1200. I let the beads get to 1200, and then allow them to cool to 1100 and let them soak there. This is because I want to be sure the beads don't start distorting before I torch them.

4) Make sure the mandrels aren't too hot to handle. If they are, I take a damp paper towel and cool down the handle end. I also pull them a bit farther out of the kiln if necessary.

5) When I am ready, I turn on the torch, and make sure I am wearing protective eyewear. I want to grab the beads and get them into the flame as quickly as possible. I am mindful of the danger at this point- moving quickly but carefully around the lit torch.

6) Put the bead into the flame and heat slowly. DANGER- the bead can shock, crack, break, or explode at this point. It is very important that the bead is hot, and that I move quickly. This is rather similar to the initial heating of a rod while making a bead- in and out, up and down, slowly into the sweet spot in the flame.

7) Once the bead is glowing, I am ready to work on it again. I have now done quite a few repairs in this manner, and am fairly happy with the results. It is not a perfect solution, but oh so much better than tossing alot of what used to be lovely beads.

8) Turn the kiln down to proper annealing temperature. I generally do this as soon as I am done working on the first bead.

You can see the photos of the fish with a broken fin at the top, and the repaired bead below.


Thursday, January 13, 2011

Clean, clear glass for your lampwork glass beads


Sometimes things just seem to come together- like when I was listening to Abbey Road while doing my high school English assignment and realized that the Beatles had used an old English poem in one of their songs (Golden Slumbers). Got my class out of a whole day of work when I brought it along to school! Woo-hoo!

The same thing happened when I saw this information about making your clear glass really clear posted on facebook by Patty Frantz: http://frantznewsletter.com/?p=2914&preview=true

Now normally, this would just go to the back of my brain, because I am not likely to want to have any sodium bisulfate lying around. But then I mentioned it in passing to the man I live with, and he thought I was talking about dill pickles. And THAT reminded me about a library book I had been looking through that mentioned a homemade metal pickling compound made with vinegar.

So I went in search of that info on the internet and ended up here:
http://idreamicanflyaway.blogspot.com/2009/01/to-pickle-or-not-to-pickle.html
Please read through this for much more specific info about the pickling solution.

Now I had all the information I needed. Would it be possible to make my own pickling solution, use it on my glass per Patty's instructions, and end up with a beautiful clear glass? I think the answer is 'yes!' I tried it out and am very happy with the results. Please do read Patty's information- you use this the same way she suggested in her article, but this is a non-toxic solution.

First- about your safety- you are responsible for that. I am not saying any of this is safe or recommended by the AMA or the fire department!
Here's what I did-

1) Used recipe from 'I dream I can fly away'- 1 cup vinegar to 1 Tbl. salt- heated in a non-reactive (ceramic-lined cast iron a la le creuset) pot to the steaming point, stirred until the salt dissolves. I wouldn't boil this stuff.
2) Let solution cool to about 140 degrees. I put the clear and transparent rods into a 15x9 pyrex pan and poured the solution over them. Don't pour it over when it's too hot, or the rods may crack. The clear I am using for this is Moretti #006. All the transparent colors are also Moretti.

3) Put that into an oven that is set to about 150 degrees. I left the door open so it wouldn't get too hot for about 15-20 minutes.
4) Took the rods out and rinsed in tepid water to remove the salt. Handle the rods carefully or use gloves so that the rods don't get oils from your hands on them.
5) Stood the rods upright to dry on a couple of paper towels.

That's it. When the rods were dry, since I didn't have gloves, I picked them up using a plastic grocery bag, bundled them according to color using twist ties, and put them into plastic bags to try and keep all the dust from my house from getting on them. That is the next challenge- how to keep the rods clean!
You can keep this stuff in a non-reactive container and reuse it. Though I haven't tried it, it seems you can also 'refresh' it by adding extra vinegar. And when you do dispose of it, it should be neutralized with baking soda.

Yes, you still need to clean with 91% alcohol to get all those nasty fingerprints off, and you may still need to pull a bit of smutz off the tip from time to time. But this is definitely worth the time it takes- which is not much. Now I can encase without fear- if I could just do it without smear!

Here are couple of the beads made with my newly cleaned clear. I normally don't even bother with this type of bead because of the smutz factor. With that problem out of the way, maybe I'll finally get down to the business of learning to encase properly!
A very special thank you to Patty Frantz and to Jo Hollingsworth- you two rock! And thanks to Larry Scott, who told Patty about this to begin with.

Sunday, December 19, 2010


I've been working on a special request again this last week. Thought I'd just post a couple of pictures here. I've been remiss in keeping up with my blog- again!


And another kinda scary bead- I got a book on matroyshka out of the library- very intriguing...

Tuesday, September 28, 2010

A Bit of Alchemy

Magic? You Betcha!
I love to add a bit of silver to my beads. A nice silver core, some clear, and some color action over it all is a lovely effect, and it adds that 'bling' that so many folks crave.
But a funny thing often happens when I work with silver. I can't help thinking of it as a kind of alchemy. When I put the hot clear glass over the silver foil, it often turns a beautiful gold color. What makes that happen? Well, like the alchemists of old, I really can't say. My feeling is that it has something to do with the heat of the glass that is applied over the silver. But I don't know for sure. Usually, if I apply the silver foil, burnish it on well, and apply some nice hot clear on top of it, it will turn a lovely gold color, but sometimes it is a mixture of gold and silver, and once in a while it stays just plain silver. You can see how different it can look in the photos above.
P.S. Check out the newest issue of The Flow- There's a tutorial by me about scissors- my favorite tool, along with a lot of other great tutorials.

Sunday, July 4, 2010

Neapolitan Man and the new Vetro colors from Frantz

I'd like you to meet 'Neapolitan Man'.
He's made with the six new Vetrofond colors that I just received as a sample from Frantz Art Glass- pale pesto, biscotti, cream, verde, purple and mauve. The only other things I used were some Moretti clear and intense black. Oh- and I forgot, a little bi ant of raku frit, which reacted nicely with the purple.


Sometimes I see a bunch of rods together and it says-
'look how well we go together- why don't you make something out of just us?
No other colors allowed!'
And thus Neapolitan man was born. Just seeing the words pesto, biscotti and cream made me hungry! So naturally, he had to be named for some kind of Italian food too!

Wednesday, April 28, 2010

Flower Tut is Finally Finished!

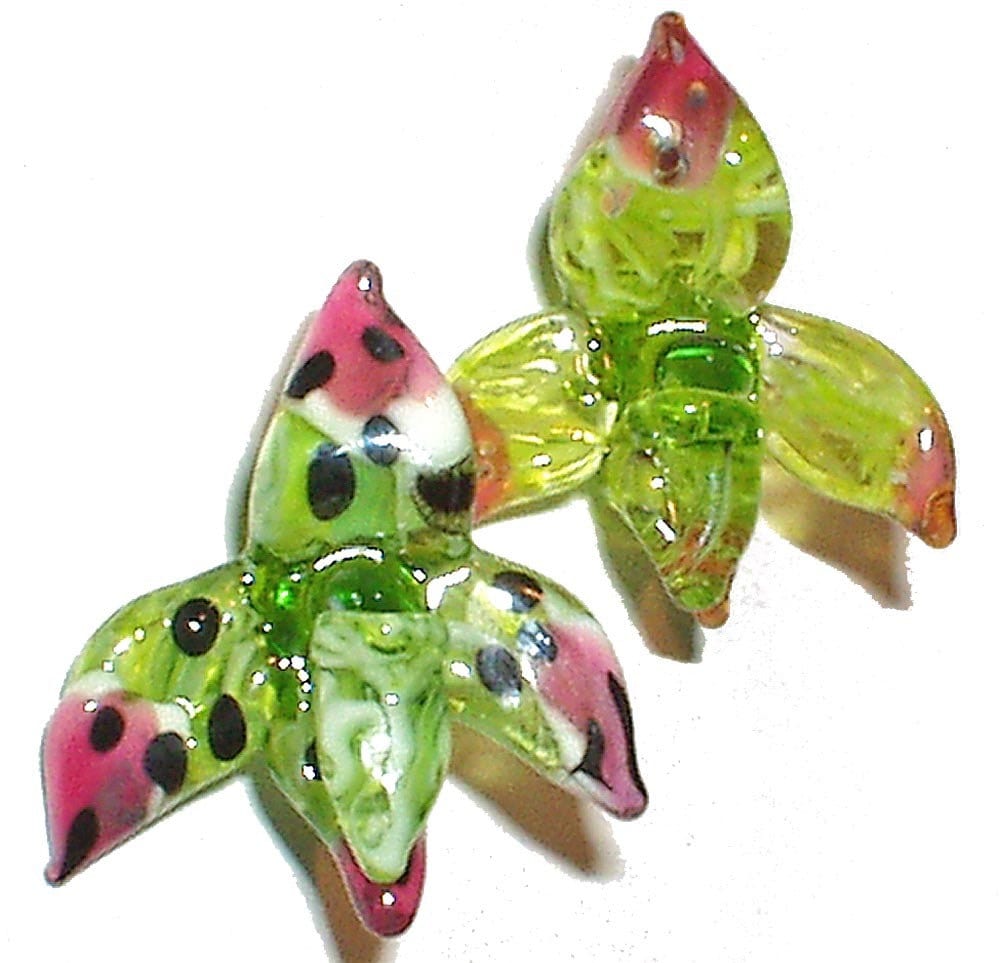
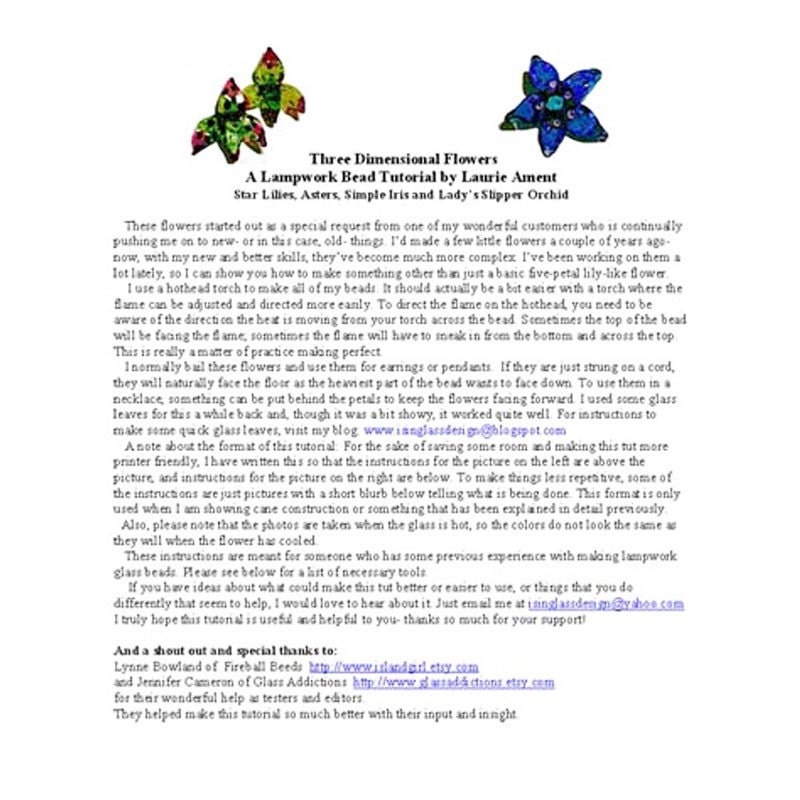
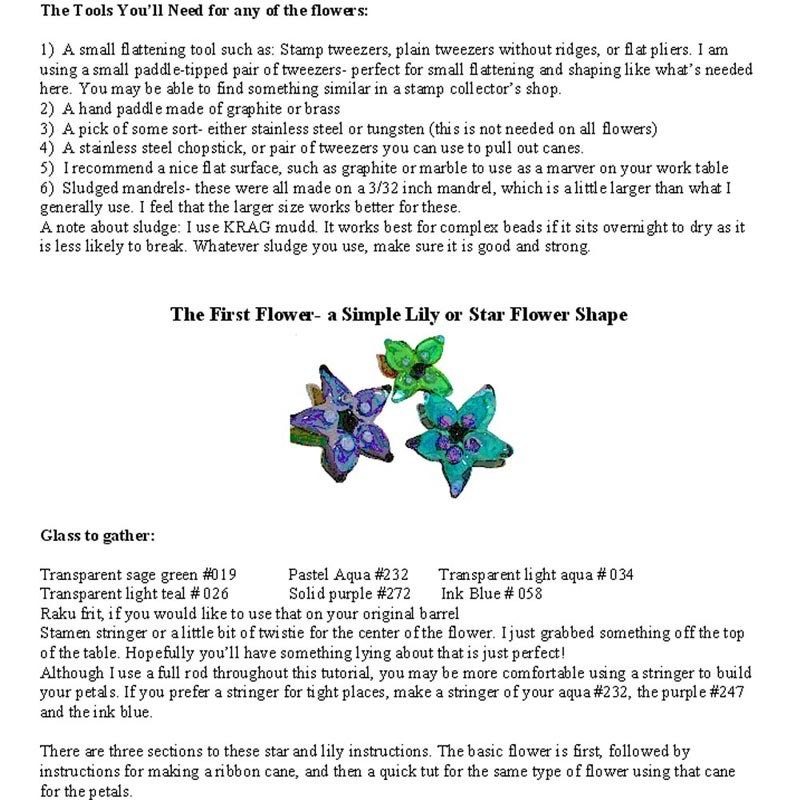
I finally got it done and ready to sell in my etsy shop- a tutorial about making four different kinds of glass flowers- a lily or star flower, an aster, a simple iris and a fancy lady's slipper orchid. So here's the link to that:
http://www.etsy.com/listing/45703612/lampwork-glass-flower-bead-tutorial-lily


Tuesday, March 9, 2010

Orchids and other flowers


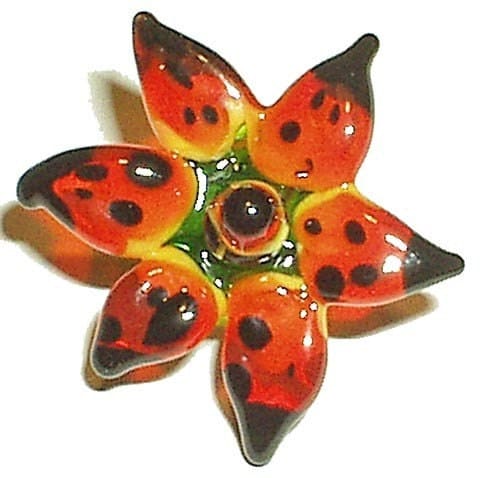
Well, I've been working on three dimensional flowers lately. It's something I've played with from time to time over the years. Since I haven't really seen anything that looks like the ones I make, I've been taking pictures and started writing a tutorial. I've written lots of mini tuts and published them here, but never tried a big old tut.


The tut I'm currently writing will start with a simple lily, then graduate to a purple aster-like flower that has two rows of petals. But yesterday I finally got to work making something really over the top. This is the flower I want to include instructions for as the final piece in the tut. The two I made yesterday turned out quite nice. I'm hoping to be able to do it again, and refine it just a little for the sake of speed and ease. But I was so happy with these- they are kind of big for me- between 1 and 1 1/2 inches across. I know that doesn't seem like a lot, but it looks HUGE in real life.

The tut and a couple of the flower beads are going to be a part of the ISGB auction next month. I think they'll be up for sale in the last week of the auction. If you haven't heard about that auction, keep your eyes peeled for news. I'll post something here when it begins. There are going to be a lot of amazing pieces for sale, by a lot of wonderful lampworkers- and me! And it's all to benefit the International Society of Glass Beadmakers.

Wednesday, January 13, 2010

A Quick Pile of Leaves


I have an order for a pile of leaves, and thought I might as well take some pics to show how I do this. A nice, simple shape for the newbies in the bunch! I ended up making a youtube leaf making video- check it out!
Here’s a photo tutorial to make these quick little leaves- they only take about 5 minutes!
1) Make a small base bead- shape ends nicely.
2) Decide which part you want to attach the leaf on, and melt a blob of glass onto that point. Make it kind of globular, not just a flat bit of glass.
3) Add layers of colors around that- I usually do that twice- here I’ve added two lines of clear on each side, then two lines of another green.


4) Dip in one or two colors of frit for some random coloration, or just add some squiggles of this and that.
5) Heat the leaf part of the bead to a nice glow- not completely sloppy, but pretty hot.
6) Get out your leaf press, and press into a rough shape. Try and center the leaf press on the glass before pressing.

7) Use your glass shears to further shape the leaf, and to make some nice deep vein lines.
8) Do the last step again if needed. You can also use your marver or paddle to help shape the leaf into a bit of a cup-like shape instead of having it be flat.
9) Heat the tip of the leaf, touch with a warm (not hot) rod of glass, and pull the tip of the leaf into a point if desired.
10) Pop that baby into the kiln.

The second series of photos shows how to do a leaf without a leaf press. Just follow the above directions, and press with a flat press rather than a leaf-shaped press. I really only use the press for rough shaping- then I like to tweak it a bit, so they all look different.
The leaf press is a wonderful tool for demonstrations- your onlookers get that ‘A-ha’ moment when they see the bead come out of the press. And it’s quite quick, for those with short attention spans!


Friday, January 8, 2010

Fear Not the Rubino Oro

Pink. Pink, Pink, Pink, PINK!!!!!


Bubblegum core ... Silver reaction ..... 1/2 over opal yellow, 1/2 over white

I’ve been privy to some chatter lately about Moretti Rubino Oro glass (#456), AKA gold pink,or gold cranberry pink. It seems that some folks are afraid to use it, or even dislike it! Now that’s a travesty. Rubino Oro is one of the most beautiful colors you can use, not to mention that it has some amazing qualities that I've found I just can’t live without. So I’m here to give you a few pointers on using it- hopefully this will be helpful.

1) Keep cool, man- Rubino, like many other pinks, prefers a cool flame, so you’re going to have to be ready to take your time with this. Otherwise, the color won’t be all that it can be. I work this glass on a hothead, and really have no trouble getting it to be a nice pink, even when the rod starts out looking clear. If it doesn’t seem to be ‘striking’ (changing color), heat and cool it a couple of times. But don’t overheat it to a molten mess.

2) Silvery grey away- Sometimes, on the end of the rod, or on your bead, you will see a bit of shiny, silvery-grey. You most likely don’t want this on your finished bead. What's happening?Your glass is being exposed to a flame that has a bit too little oxygen- it’s 'reducing'. This can actually be used for some effects, but to get rid of it, just add a bit of oxygen to your flame. On a hothead, I find it generally means I have the flame just a bit too high, so I lower it a little. It also seems to help to be just at the tip of the blue flame cone rather than higher in the flame.

3) Just a little bit- Rubino oro is a very saturated color. If you use it all alone to make a bead, it will probably end up being an ugly muddy mess. So, you should try one of these things.
...a) Make a small core bead of Rubino and encase it in clear (or a very light transparent).
...b) Make a white (or light colored) or clear core and encase it in a thin layer of Rubino.
...c) Layer. You can do something like make a base of pastel uranium yellow, cover with a thin layer of rubino, and encase that with a nice pale purple. Layering like this adds subtle color variations. You'll just have to experiment with different combinations and see what you like.
I don’t recommend you use the Rubino on ivory. That’s not a friendly reaction.
...d) Use it as an accent color. It’s such a deep color that a little goes a long way.

4) What’s your reaction? Oh, there has been so much written about this, and there are so many possibilities, that I’m afraid you’re just going to have to try it out! Here are a few suggestions:
...a) Try it over opal yellow for a lovely pinky-brown color
...b) Use a bit of light aqua (232) on top as dots or lines- there will be a dark pool in the middle of the dots, or a dark line through the middle of the line. Try this with some other colors like periwinkle blue (220).
...c) Use it as small dots or lines either over or under silver foil. If using dots under the foil, heat it up slowly until a mesh-like pattern forms.
...d) Use bubble gum pink as the base bead for a nice deep pink.

There are problems you will run across from time to time. It may get a chalky or bubbly surface. I think the bubbly surface comes from simply overworking, and if it happens you're kind of out of luck. As far as the chalky look, that could be a bit of devit. You might be able to bring back the sheen by heating it up a bit more. There's a bead in the kiln right now that I tried this on, and I think it worked. I'll let you know!
Yes, even if you follow these tips, you will have some bad beads from time to time- even some awful beads. But just keep at it, pay attention, and maybe even take a few notes, and I think you’ll be very happy that you tried out this fantastic glass.

Here's a discussion about Rubino reactions:
And a great tutorial that shows how to use Rubino with silver:
If you need more info, you might consider the 'think pink' a tutorial by Sarah Hornik, available here:
Now get torching!!!!!

Sunday, April 26, 2009

Seahorses and frit

Wow, blogging once a week is a lot- I'm already overdue for this one. Too many events over the past week- I barely had time to finish out the special orders from last time and get a few bracelets made for market. But now it's time to get back to it, though I generally take Sundays off from the torch, 'cause Saturday market wears me out. I finished up those seahorse earrings; she sent the pics off to a friend, and he wanted a pair for his wife. So I might as well show you a picture. They are a little bit on the bigger side...

My wonderful library bought a book I requested! It's Val Cox's "Frit Secrets" I read the whole thing yesterday- lots of technical info, so I'll have to read it a lot of times to ingest it all. After I've kept the book for a bit and am ready to return it, I'll tell the local beadmakers it's there! I'm excited to try her full raku instructions, the boro-look beads and a couple of other things that I hadn't thought of. I have an old piece of brass from my daughter's college days, and it finally dawned on me that I could use it as a marver, so it's out and ready to go.
I have to admit, I haven't been big on frit beads in the past, except for raku and a bit of iris gold. So now I've got a little bit of a window on what I might be missing. It's always fun to try out new techniques and see how they fit into my 'style'- whatever that is! I have a few frits that have been lying around for years, so I'm ready to go kinda. But I think I'll be buying a few things from Val- she talks some of them up so much that I just HAVE to try!
Ok, I'll see if I have the energy to try a few things out today!

Sunday, January 18, 2009

Playing favorites with glass


Well, let’s see if I can explain this…
I was reading info about clear glass on a website the other day- Someone mentioned that the clear glass they liked (my clear favorites are either Moretti 006, or Lauscha) wouldn’t be available again until March or April. I remember the first time I heard this about a favorite glass color. My reaction was kind of – huh?? How can that be? What do you mean they only make it at certain times of the year???
That was about 7 or 8 years ago. Things have changed so much in the soft glass world in just that short time. There are new American manufacturers, the German glass companies have started making 104 coe (soft) glass, Vetrofond has come onto the radar ( I don’t actually know when they started making soft glass at the Venice factory), the ‘odd lots’ glasses have come to be available. The story I heard about odd lots glass is that Mike Frantz was at the Moretti factory, and saw some piles of glass rods sitting in a corner of the room. When he asked about them, he was informed that they were basically mistakes and not part of the normal color palette. When he imported them to the U.S. and offered them for sale, the color-starved glass beadmaking community went wild and a whole new, but limited, palette of colors was introduced.
So, what’s to be done? Well, we must just adapt to the vagaries of the glass makers. The Moretti factory on the island of Murano has been making soft glass for centuries (though the factory has changed hands once or twice). They now have to keep up with an artisanal industry that has exploded over the past 20 years or so. Before that, the demand for soft glass outside of Italy was not so large. And we Americans are used to being able to get whatever we want whenever we want it.
Now that I’ve gotten used to the idea, I actually love the idea of being part of such an ancient art form that is still based in some old-fashioned manufacturing techniques. And I just try not to get overly attached to any one color (though I can hardly go a day without my rubino oro). I try and view it as more of an opportunity to get out of my personal box and try new things.
It a bit of Zen and the art of glass beadmaking at work!
P.S. For those of you who not so familiar with glass beadmaking- getting a nice perfectly clear, compatible, glass is not always easy. There are constant discussions on the web about what is currently available, who has it, and how folks like it. Looking out my clear-ish window (which needs cleaning!), it seems almost impossible that I spend time wondering about this.