Showing posts with label lampwork glass beads. Show all posts

Wednesday, April 21, 2021

Lampwork Glass Beads~ 'Frit Stacking' Ideas

 So... I'm sure many, if not all of y'all bead makers, have some frit mixes lying around. Back when I first started to make beads, I didn't use frit. And it was in the old 'dinosaur' days before Val Cox and her 'Frit Secrets' book came out, so frit mixes were not yet a big part of the glass bead world. Nowadays, a  nice mix of frit can decide the colors of a bead, making that part of the process easy. They are a useful crutch, especially for days when one is feeling a wee bit less than inspired. Just grab a mix and enjoy making the bead! Val's book has a lot of different ideas for how to use frit in a bead; it is a great resource. 

I often feel like I am kind of cheating when I use a prepared frit mix in a bead and it takes a little bit of the creativity away, so I try not to lean on them too heavily. That said, I seem to be in a bit of a frit loving stage. I mean Gaffer's or Reichenbach's royal purple or purple rose frit is simply irresistible! 

While thinking about some of the things that happen when a couple of different frits are mixed, or just a touch more of something is added to a mix, I realized that maybe the frit colors could basically be stacked instead of using them all at once in a mix. Say, for instance, you are inspired by the colors in a violet. Instead of using green and purple together, why not put on some green and then add some purples randomly on top of it. Would this not give more of a violet feet to the whole bead? (Without all the trouble of having to actually put wee violets all over it). How about rolling the bead in a larger size purple frit and then a smaller one~you can see in this example that little bits of purple are on larger dots of purple. Those larger bits of purple must have been sticking out when the smaller purple frit was added, making it look like glass dots were placed on the larger purple bits. Another fun idea!

Today was a 'frit stacking' experiment day. I was pretty happy with the results. As a bonus, interesting reactions sometimes occur between the frits. Here are a couple of the beads and how they happened.

This pink bead started with a base of clear, then CIM rose quartz with triton frit at one end and then another layer of clear all around. The triton was reduced to bring out some shine and then encased for a little extra background play, though that was rather lost in the shuffle after everything else was added. Some Reichenbach iris amber green, opal raspberry and copper ruby were added over the clear layer. These three frits were all about the same size. You can see that some rather interesting things ended up happening on this bead.


Another bead was a play of organic colors and purples. I didn't write down the colors on this bead, but I believe I started with a background of amber green iris (which changes colors a bit as you go), then some large Reichenbach purple rose frit, and then small Gaffer purple rose, which I put all the way across the bead. I don't believe I added any actual green frit to this bead; the iris amber green can make its own green in some instances.


Here are closeups of both of these beads to show some of the yummy reactions that happened!


Monday, November 16, 2020

A Short Story About the Birth of a Glass, Felt & Suminagashi Studio

Here's a little something I've never thought to do~ write up a wee bio for public consumption. So here's a bit of information I think folks might find interesting about me and my work.

Work, you say? Well, that's what we call it around here! I began making lampwork glass beads in 1999 when I purchased a bead making kit for my daughter (ha,ha). She rushed off to college in short order, where she was not allowed to have a torch in her dorm room ~ who knows why? So I was left with a torch, a book, a bunch of glass and time on my hands. I made beads. And more beads. And I found that there was a lot I didn't know, so I made yet more beads. And bought more books, and more glass. The internet intruded with its wealth of information, and then I found there was yet more to learn. A vicious cycle to be sure! And so Isinglass Design was born.

At this point, I've learned so much that I've shared a lot of it on this blog. Take a look around for tutorials and general gibberish about lampwork bead making.

You can see some of my old work on flickr and more recent stuff on pinterest, or pop over to my facebook page. You are also allowed to follow me on instagram if that's more up your alley. Of course there's stuff for sale in my etsy shop~

But bead making is not all I do in the world of arts and crafts these days. I started working with wool and making felt in about 2015. I've made scarves and bowls and puppets and purses. Right on this blog I show how some of those things were made. Look here to see how I got interested in the world of fiber.

And then, more fool me, just before we were all sequestered, I went to an introduction to suminagashi workshop at the local library. So now I play with ink and paper when I can think of nothing else to do! Want to try it yourself? Read here for a bit more info.

Surely no one needs to know more about me than this? But truly, if you look around this blog and watch me on instagram, you will definitely know more than you bargained for!

P.S. my name is Laurie~ yeah I did forget that bit...


Tuesday, July 16, 2019

Lampwork Glass Fish Beads and Other Glass Sculpture to Wear!

See Spot
Well, I have little, if anything new to say about lampwork glass fish, except I make them. A lot of them! Sea life is always a fun theme. Most of my fish styles only exist in my lampwork world. They often come together as I work on them, though I have an idea about colors and design before I begin. As I go, I pay attention to how the design is developing and decide what seems to be working (or not!). There is a gallery that contains some previous designs on flickr, and always loads of fish pendants available in my etsy shop, of course!


Pink Adobe Turtle


I also make turtles, seahorses, a random sea urchin, some shells now and again and even mermaids when things lead me in that direction. Turtles are always interesting- folks ask for odd colors and then I want to check and see if there are any actual turtles in similar colors. What a surprise! There really are pink turtles. Not quite like these, but still... Oh, and frogs, but perhaps I should have a special post about those guys.


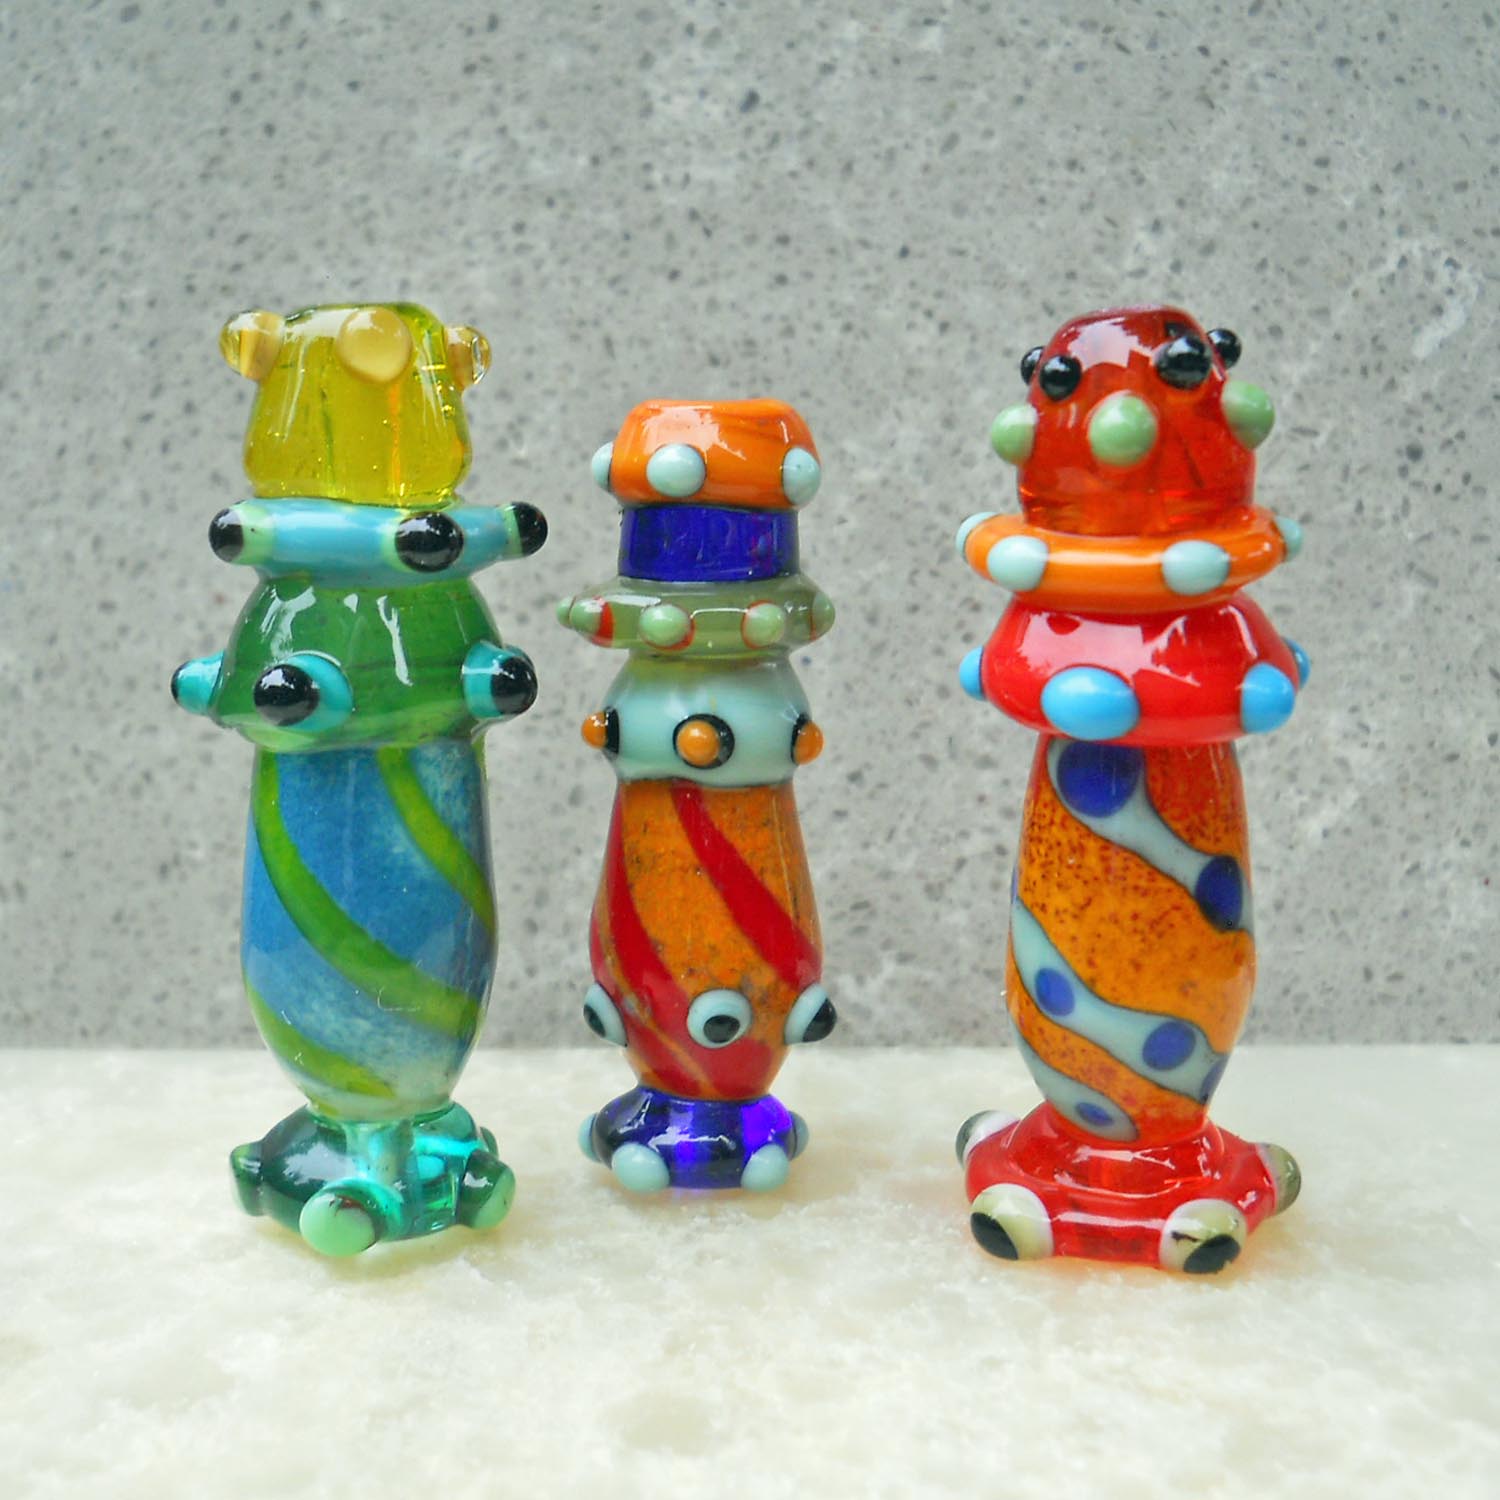
There is this cool book called 'Art Forms in Nature' published by Dover books that is simply filled with interesting designs to influence my glass work! any of those creatures are from the ocean realm. But sometimes I just have to pull them onto shore! Some these beads go distinctly into the fantasy realm, like these mannikin beads. I call them that because, well, they remind me of little sentries, or maybe chess men!

Monday, October 29, 2018

Free Shipping~ Or Not


What’s so free about free shipping?! Recently, etsy has been having a sweepstakes with a big prize and all you have to do to be registered in the drawing is to have free shipping in your shop over the holidays. Huh! Apparently this is something that customers actually prefer to, say, a 10% off sale. It is also something that I can’t get my head around. My shop motto should be something like ‘fair and sensible pricing on everything all the time.’ Because that’s what I try to do. 

So how about this free shipping thing? Why not do it? Well, frankly, I can’t see how it would not cost my customers more, in some cases much more, than just charging a fair shipping price. Why? Because I do have to pay for shipping. In order to offer ‘free’ shipping to my customers, I’d simply have to add it to the cost of each item up front. To be truly fair about it, I’d have to go through all of my etsy sales and see the average number of items in a single order and then, being some kind of a math genius, figure out from there exactly how much I would need to add to the cost of each item. What a pain! But let’s pretend I feel like doing that. Let’s see if I can lay it all out.

Right now, I charge shipping for the first item and the rest are gratis. The reason is that it doesn’t really cost me much to add another item to a box. And if someone buys a bunch of things, well, I’m happy to eat the additional cost and sometimes even upgrade to priority mail. 

So today, if you buy 10 beads in my shop, you pay $3.50 in shipping within the US.

Let’s say I offer ‘free’ shipping and have done the calculations and found that the average person buys 2 items at a time. Generously, I will add only $1.75 to the price of each item to cover shipping costs. Now let’s say you are a wonderful customer and buy 10 items at once. Well, because I’ve added $1.75 to each item, you’ve just paid a whopping $17.50 in shipping, instead of $3.50. That’s $14 extra dollars, in case you weren’t paying attention.

The other side of this is that if I did offer free shipping, folks might simply purchase one thing at a time, costing me both extra time and money. I feel that what I am doing now is fairest for everyone.

Now, here’s what my current shipping charge covers, just in case you’re wondering. Postage of $2.66 (if I can ship from home~ if not the postage is the entire $3.50), an envelope, which usually costs .50, a touch of tissue, bubble wrap and tape so we’ll add .10 there, and another .05 for a business card and a note for a whopping total of $3.31. So I get paid about .19 for making the box, packing and walking to the mail box~ just like in olden times… Oh wait! Now that etsy is taking 6% (or something) of shipping charges, I actually get nothing for packing it up and sending it off. Ah well.


Thursday, January 18, 2018

A Treatise on Artisan Pricing for Your Handmade Work

lampwork glass beads fro Isinglass DesignThis is not to be a blog on how to price your work. If you're looking for that, check out Laura Bracken's jewelry and craft pricing calculator.

What I wanted to talk about here is a bit about the vagaries of pricing artisan handmade work. Yes, you need to take your supply cost and time into account. Also all the training you've done to get to where you are today. But there are other elements that can come into play. I think of it as the 'because I say so' factor. I have jokingly said this to customers from time to time (if I think
they will understand that it IS a joke), but there is a big element of truth involved in that statement. Only I understand exactly how a particular bead was made and what it took to do it. There are pieces I love because I am so happy with the success of the technique involved. But the customer has no clue about that. If you meet me in person at a market or show, I am likely to try and encapsulate the technique used that I am so delighted with. But as a customer, you'd probably have no clue what I was talking about. Most folks smile and nod~ their take away is probably something like 'well the artisan is pretty excited about that piece, so there must be something special about it.' ( I hope they're not thinking- 'well SHE'S certainly proud of herself!).
Colorful handmade wet felted bowls from Isinglass Design
Does size matter? Well, in perceived value, it probably does, but in reality, size is not the main determining factor in my own price structure. If you look at my etsy shop you will see that most pieces of the same type are pretty close to each other in price. Even though there are some pieces that I am really happy with and some that I feel are more average, I determine a basic price for the type of item and then stay within that range. The base price is pretty much a result of the time I normally spend making a piece of that type. Some pieces take a little less time, some considerably more, but time is not the only thing that makes a piece more or less valuable to me. And since I'm the one making the decisions around here, the prices I determine on are the ones I'll use. Why not charge more for the pieces I like better? Well, as my mom used to say 'it all comes out in the wash.' It is true that, just because I like something, that doesn't mean it will be a customer favorite. And just because I am not impressed with something else doesn't mean it is inferior. Again, perceived value comes into play. What the customer likes will seem more valuable to them than the pieces that didn't catch their eye, regardless of what I tell them. I would never say- 'oh I hate that piece, you should get this one instead, it's nicer!'- regardless of what I might be thinking!

Isinglass Design earrings on handmade glass headpins
Prices for each type of item will rise over the years as I feel that the pieces in general are nicer, larger or more complicated and therefore worth a bit more. One other thing that I am aware of is what I perceive as the value of the item. If I were out shopping, how much would I be willing to pay for something like I make? What would I think of as a reasonable price? I want my work to be affordable. Maybe something you wouldn't buy every day, but something you're not kicking yourself about buying later because of the price. In the spirit of keeping the joy of owning a wee bit of an artisan's work alive, I'd like customers to remain happy with their purchase on all levels. It is also a reason that I am not a 'hard seller'. If you like something, can afford it and want to take it home with you, then I am on board and happy to help you out! If you want to just stop and chat and look, that's good too. I have gotten so many ideas and suggestions from window shoppers and customers alike~ I consider getting out of my box a bonus to setting up for in person shows.

I am a 'bail as you go' bead seller. When I am at my table, I have a few pieces bailed and ready to roll and a lot that can be fixed up on demand. It is true that folks tend to buy the bailed pieces first (so I probably should have more of them ready to roll). I can sit at my table and do a few more throughout the day, which often brings folks by to see what I'm up to. I've also had folks who want to watch the bailing process- a mini class if you will. I'm just fine with giving out some pointers. If they're serious about it, they may learn a little something.

Here's a little pricing trick I use at my table when selling in person. I use signs that show a range of prices rather than pricing each item individually. After years of hearing folks say 'oh it figures I would choose the most expensive one' I have made my price signs so the highest possible price is a little more than the most expensive piece on the table. Silly? Yes, but I'm much happier not having to hear folks say that so often.

Monday, June 5, 2017

Lampwork Glass Agates From Murrini Ends

Here's the cut murrini rod on a clear background

So, time for more experiments in glass! I am beginning to learn to make murrini. Who know what fun that would be? As my studio space slowly fills up with little plastic ziplocks full of glass slices, my mind is slowly working on new ideas. Two things can happen with my murrini pulls- they can be too thin and they can be wonky (or possibly just plain ugly). What to do with all those rod bits that you don't want to cut up into murrini?

Rather than pitch them, I thought I'd try using them with a technique I figured out a number of years ago. Simply? Lay them across the hot bead, stick them on in the flame, cut them, push them on to the bead surface and melt flush.
Some surprising results ensue. Mostly they seem to end up looking a bit like agates. Or turtle shells. So far, it seems the designs show up best on a simple clear background.

Time for pictures!


I started with some murrini end pulls- pieces that are 4mm or more in diameter will work well.
I made a long bead, slightly wider in the center than at the ends, then rolled one end in silver foil and everything in raku frit, just for a bit of 'background noise'.
A piece of murrini rod was laid diagonally from end to end. Don't stretch it out, just lay it on.

Bead and rod were melted together just until the rod was attached; then the attached rod piece was melted slowly and snipped with scissors all along the length. Heat a small section and make a few cuts, then heat another section, all the way up the bead.

There are a couple of different ways to approach the cut bits- either push them onto the bead as you go or cut all the way up, then remelt and push. I use a small knife, place it into the cut and then pivot the knife sideways to open up the center of the murrini rod. It will not look like a regular murrini, but will have an interesting design.

 Another line from a different murrini end was added parallel to the first line and treated in the same way. I added a line of clear between the cut lines, a few dots of aqua here and there, melted everything together and called it done.

My feeling about this bead is that it turned out a wee bit murky. I've made a few leaves on a simple clear background, and the design shows up much more vividly on that background. It makes a pretty cool turtle shell, I think, though next time I will try it on a clear or color encased in clear as the background.

Sunday, May 21, 2017

Murrini!

My murrini is on the purple, Kaz's on the blue and orange
Oh my! I've gone on a murrini making binge. I bought a few from Kaz Baildon in England, but couldn't wait for them to arrive, so I got a rod nipper and began making a few of my own. Still working on making them turn out as I have envisioned them- right now, some come out quite nice and others, well, not so much. But, because I'm making them, I must also learn to use them. I have resisted this whole silly thing for more than 15 years! Now? Well, I may be getting just a wee bit addicted....


If you are not a bead maker or glass afficianado, you may wonder what the heck a murrini is. For your edification, I must, as usual, point you to the wiki about such things. One builds a tube shaped blob of glass using a lot of different colors, pulls it into a rod and then cuts thin bits off of it. These cross section pieces have sweet designs in them that get placed onto the hot bead. They can look like just about anything- the classic use is in a millefiori (thousand flowers) design, where piles of flowery-looking murrini are placed all over a piece. But a murrini doesn't have to look like a flower- it can be a fish, a heart, a star, your initials- anything, really!

So now on to the small touch of something I think I've learned. First, in the purple fish pictured- the murrini at the bottom is encased, while the ones at the top of the bead are placed on the surface and melted in. The encased murrini was an extremely thin slice which I simply laid on my marver and picked up with the hot bead. Because it was so thin, there was no worry about it shocking and breaking. And it was easy to melt smooth and encase. A nice use of those bits that are simply too thin to pick up, and it really shows off the design nicely.


Another cool thing is the 'barnacle effect' as seen on the tree bead. As best I can remember, I did not melt these murrini all the way down, but got them about 1/2 way melted in and then  put a blob of clear on top. Not exactly what I was going for- it looks a barnacle or eye-leafed tree, but it's a fairly fun idea that could be used effectively somewhere, I'm sure! Those wee murrini next to the tree are the ones I used on it, and my favorite pull so far- modeled after peacock tail eyes.

If you are interested in learning the art of murrini making, I can highly recommend the October 2013 issue of the Soda Lime Times. I read through all the different instructions there and ended up sort of combining things together. John Rizzi did a particularly nice job with his tut! The magazine also has murrini recipes from a whole bunch of different people. I have not attempted to follow any of those, but it was great to see see what folks do!

I use just regular tweezers ('cause that's what I've got!), but I have heard that it is helpful to have either tungsten tipped tweezers (so they won't stick) or some pipe and tube or universal cylinder tweezers from Micro-Mark. I have not tried these, but folks were pretty excited about them on facebook.

Wednesday, March 1, 2017

Reflections: the Diary of Glass Beadmaker


For the last few months, I have been hard at work writing and putting together a book. It's called 'Reflections: the Diary of a Glass Beadmaker' and is available on etsy here. 
I've added a subtitle: 'tutorials, tips and information for beginning and intermediate lampwork glass beadmakers' because it is really full of short (but complete) tutorials and loads of other stuff. There are nine tutorials included, from making a basic disk or hollow bead to encased silver fish and raked and twirled beads. There are also tips on making matched pairs, basic sculptural bead instruction and how to repair damaged beads among many other things. Kind of a view inside the beadmaking portion of my brain!

      What a surprise, and what a surprisingly large amount of work was involved! My original idea was to take a bunch of blog posts about making beads that I'd written over the years and put them all in one place. I think of it as kind of a 7 year diary of ideas about glass beadmaking. But that's not exactly what happened....

     First, I saw that I would need to re-make a lot of beads so that there would be much better photos. And then I realized that there was a lot of other information floating around in my head, notebooks and computer that folks might find useful. So the book kept growing. It ended up clocking in at about 78 pages. And I learned plenty about using 'Word' while I was at it.

Next, I sent it out to a few friends to look through and see what they thought. And to see if I made any terrible errors! Here a couple of quick assessments from them:

" I enjoyed reading it, thought it had quite a few good tips, with your personality and wit apparent."

"Got your book downloaded and speed-read through it. The following is my impression: 1) It is a very nice compilation of useful details and information; 2) You covered a lot of basics, like cleaning the rods, frit making, shards blowing, etc., etc. It would be a great text book for persons "starting" on the hobby."

" For anyone just starting out it is a wealth of information. A good resource for where to find answers to questions they might have. While at the same time it is a wonderful reference for anyone who has been torching for a while and needs a refresher for something they haven't done in a long time. I also like that you put in info for folks who have been just hobbyists and want to get a little deeper into the craft for teaching and doing shows."

"The last part of the book (almost 15 pages) is about managing schedules, set up for bead shows as well as some of your thoughts on designing of a bead, which is more than any beginner would be able to appreciate or be interested in."
 
" Your book certainly covers a wide range of the topics that all bead instructors should address."
  
"This book is AMAZING - you make me want to get back into beadmaking!!"
 
So, here's an outtake from the introduction explaining a little about the book.


      Because much of this information comes from my blog, it is available publicly. Blog publication dates are included here for general interest, but things have been reorganized in a more sensible order. There are many updates, lots of new photos and information; things like how to make masked patterns and twirly bits on the side of a bead. Also included is a short treatise on inspiration called ‘Keep Your Mojo Workin’ as well as notes for giving demonstrations and classes for those ready to move out of their studios and into the public arena.

      This is not a beginner’s instruction book for making beads, but rather a book for advanced beginners and mid-range lampworkers. It includes ‘beyond basics’ ideas and mini tuts to teach technique rather than how to make a specific bead. There is no list of colors used; you will choose those yourself. This is meant as, hopefully, helpful information to help bring your beads to a new level. Have trouble with sculptural beads? There are general tips as well as instructions and photo tutorials to make butterflies, fish, leaves and hollow beads.

      It all begins with a few basics, which you may already know- an intro to lampwork, a glossary and primer to help you find the things you need to start your own beadmaking journey. Tips on making a first bead,  good for both students and teachers, cleaning your glass, making shards and frit are included in the ‘basics’. Then there are some more difficult techniques, such as rescuing beads that have broken bits and using rubino oro.

      In the ‘Rambling Thought on Beads, Art and Business’ section near the end, there is general information about things as varied as bead wear-ability, the theory behind deliberate mistakes and button technology. In the standard blog style, there are outside links for further reading on many of these subjects. Most of these missives are simply things I think I’ve learned during the many years of my beadmaking journey. A little window into my thought patterns will be opened to you.