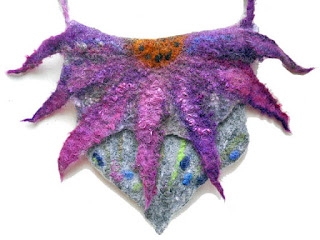
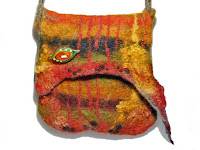
 Well, for the fiber fans in the crowd, I wanted to pop in and talk just a little bit about making felted fiber purses. A purse was among the first things I was inspired to make with felt. After a quick lesson in making batts, I came home and thought- well, that looks like it would make a nice purse~ so I did!
One part of the instructions I modified right away to make the whole thing around a resist and then cut the resist out. I made a resist only for the 'business half' of the purse and made the flap sticking up from that on its own. Once it was pre-felted, the top of the front opening was folded under a little so that it would not stick to the back half of the purse. It is probably not quite as even as a cut would be, but I enjoy the organic look and find the felt edge can usually be pulled into shape while wet so it is fairly even.

After the purse was finished, I painstakingly lined it by hand as I have no sewing machine. That was WAY too much work, in my opinion. In the next phase, I simply felted things down a bit more and made sure the purses were sturdy enough not to need a lining at all. But then I thought wee fibers might get into things. I admit that I don't wear lipstick, but I imagine it is not where one would like their fiber to end up.
 A couple of weeks ago, I had an inspiration - why not nuno the inside with some fabric I had lying about? Then there'd be a mostly fabric inside without all the trouble of hand lining it~ to my shock, this actually worked! At first, I made the fabric into nuno pre-felt, let it dry and cut it to shape, leaving some room along the seams so the fibers could felt together nice and strongly. After doing it this way a couple of times, I tried it without making the nuno pre-felt~ just adding a cut piece of fabric to the inside~ which also worked, but the fabric did want to slide around a bit.
To make the nuno prefelt, simply take a piece of loosely woven fabric, add a thin layer of fiber, get it a little wet and soapy and roll about 300 times, just until it's all stuck together and the fibers are poking through the fabric a little. Let it dry flat and cut it to the size and shape needed. The fabric part should go to the inside of the purse, with the fiber side up so that when new fibers are added they will all mesh together well.
That's it for now!


