Showing posts with label glass bead tutorial. Show all posts

Thursday, August 15, 2019

Removing a stuck lampwork bead from a mandrel.


Removing a Stuck Bead From a Mandrel

Here's what I have found works particularly well for removing long, thin glass beads from a mandrel (a tip from my book 'Reflections, the Diary of a Glass Beadmaker'). Tubes can be more difficult to remove from your mandrel than other types of beads due to the larger amount of glass that is in contact with the mandrel.
 
Soak the beads in water for a little while. Grab mandrel right below the bead with vice grips (at the long end of the mandrel). Make sure the vicce grips are tight on the mandrel and perpendicular to it. Grab the bead firmly with a paper towel or flexible jar opener. Turn the whole apparatus so that the bead is at the bottom. Grip the bead firmly and (here's the trick!) wiggle the vice grips (not the bead) back and forth and turn them until the bead loosens. Once the bead has loosened, twist and pull it to remove completely. 
You can also try tapping the tip of the mandrel against a hard surface to set up a little vibration that may help loosen the bead release.

I have heard that soaking in vinegar may help, and also that putting a bead in the freezer might help because the metal mandrel contracts a little bit. For me, the vice grips method works best.

Tuesday, February 19, 2019

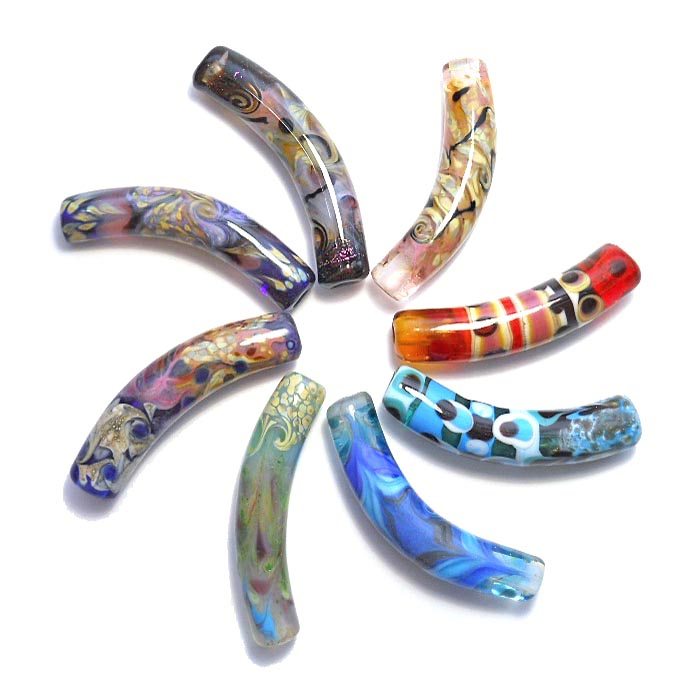
Lampwork Glass Curved Bead Tutorial- Making Curved Glass Beads


Well, I finally did it! After many requests and loads of questions from folks, I have written down everything I know about curving glass tube beads my way, which is in the kiln! If you look at the etsy listing for the booklet, you will see that there are a lot of disclaimers. Why? Because it will take some work for each person to get it right. This is not a tut in the traditional sense, but rather instructions, suggestions, a lot of information on what might go wrong and why and happy photos of some of the beads I have made using this method. It's written in more of a workshop style, with loads of information. I've really tried to include everything I've learned as I've explored this method over the years. Tester questions are answered and details I've explored are explained. I am happy to answer questions and lend support where needed.


Is it easy? Well, yes and no. Making the bead is fairly simple, and I have provided two short photo tuts to help with that bit. Curving them after they're made is a bit of a nail biter because issues can arise. This method of curving in a kiln came about through the help of a glass fusing friend of mine. It took a lot of fooling around and changes before I got a method I was really satisfied with.


Here's a little bit of feedback I've gotten on it~
'I just glanced through your tutorial and it’s really exciting. I made some assumptions about how you make your beads and not one of them were correct.'
' It's designed to encourage experimentation, and shows you a way to create these distinctive, curved beads without any special equipment. The entire process is very clearly expressed and even includes a nice introduction to making long tube beads in addition to the info on curving them. It's really like being in the workshop with Laurie and watching her process and learning from her years of experience. No, it's not a plug-and-play, effortless, "copy this and you'll get that" kind of tutorial. To me, it's much better, because it shows you a whole way of looking at your work methods.'

I have tried some other methods and read up on others. I've had more success with this method than with the 'Tom & Sage' method (which is pretty cool) or using a curved mandrel. The curved mandrel has a few problems in my book- first it is not really all that curved, secondly it is darn hard to get the beads off, and thirdly it is simply difficult to build a bead on a mandrel that is not straight! There is also a method where the bead is built on something flexible and curved while it's hot. Sounds interesting though I have not tried it ~ it sounds a bit scary and I don't like the texture left inside by the flexible rope!

Here's the etsy listing link:
Glass Bead Workshop~ an exploration of curving tube beads in your kiln


Sunday, November 18, 2018

Using Enamels in Lampwork Beads


Here’s a rundown of the enamels I use for making lampwork glass beads, such as it is. I don’t actually use all that many colors. I have tried a few others, but these are the ones I’ve settled on. 
I like enamels because they give nice, clean colors with none of the problems you can run into with glass rods. No devit, no mud, no worries! I also find them essential when I’m trying to duplicate most types of designs from nature~ I always use them as part of my seahorse patterning. I wrote a blog about an experimental bead of that sort a while ago, trying to imitate a natural pattern. My camera ran out of gas in the middle of the experiment, so there are no pics of the best part, but you can get an idea of what was done, anyway.  
By the way, I don't care how many people say to do it, I DO NOT recommend putting your enamel in a shaker or sifting it onto your beads. Talk about some airborne micro particles that you can breathe! Ugh! 

Here are links to a few articles on this blog that talk about enamel use.


I’m still not really sure about the edp trick, but it’s worth further exploration. 

Here are the colors I use, and why!

*  White(9010)- essential~it’s great for a background and can make the colors pop. And there are other things you can do with it too, like overmelt goldstone frit into it for an interesting stone like look (there’s a little more to it than that, but not much. I need to find my old notes as I haven’t done this in years.)
*  Bright red (9840)~ great for a nice, stable red red. If folks ask me for something red and I am thinking clearly, I virtually always use red enamel.
*  ‘New’ purple #9740~ a nice, clean purple. Dark purple is OK, but this reads more true to me.
*  Light or dark orchid(9760 or 9780)~ wonderful pink either way~ also essential. I don’t know if I can tell one from the other. Reacts nicely with raku and iris gold frit.Also lovely with a line of rubino running through it.
*  Oxford blue (9650). There are several blues that are all very similar. Medium blue or blue green are OK, but I prefer oxford. There is also something called just 'aqua' I think which is quite nice.
*  Transparent aqua( might be #9452)~the only transparent I really want to have around. It’s a nice light aqua blue, not dark like all of the ones mentioned above. Probably best backed with white enamel.
*  Melon yellow (9830)~ kind of halfway between orange and yellow. I’m not a big yellow fan, but I do like this color.
*  Green~ I’m pretty sure it’s apple green (9330) that I like. Moss is a bit too grey and dark for my taste.

I have not tried orange red (9835) but it looks intriguing.
NOT black. I’ve gotten it and it just seems to turns kind of dark grey and takes over. Then again, maybe some folks know what to do with it!

Sunday, October 7, 2018

Lampwork Glass Bead Tutorials~ Sculptural Techniques

Over the years, I have sent a lot of tutorials in to magazines to be published, often at their request. I've decided to try fixing up a few of them to be sold on etsy- new and revised by me! Why bother? Because I feel I can make the tutorials even better myself! How?
  • I get to edit the photos myself. Often they come out cleaner and crisper when I do the work. 
  • I can add tips and extra information that there was no room for in the magazines.
  • I can include extra photos.
  • At the end I add a one-page list of all the steps for easy reference.
  • I can add a picture of my beloved pup if I want to!
Because these are PPTs (previously published tutorials), they are only $5 each and will be bundled for extra savings too. The location of the original publication will be noted in the etsy listings so if you already have it, you don't need to buy it again.


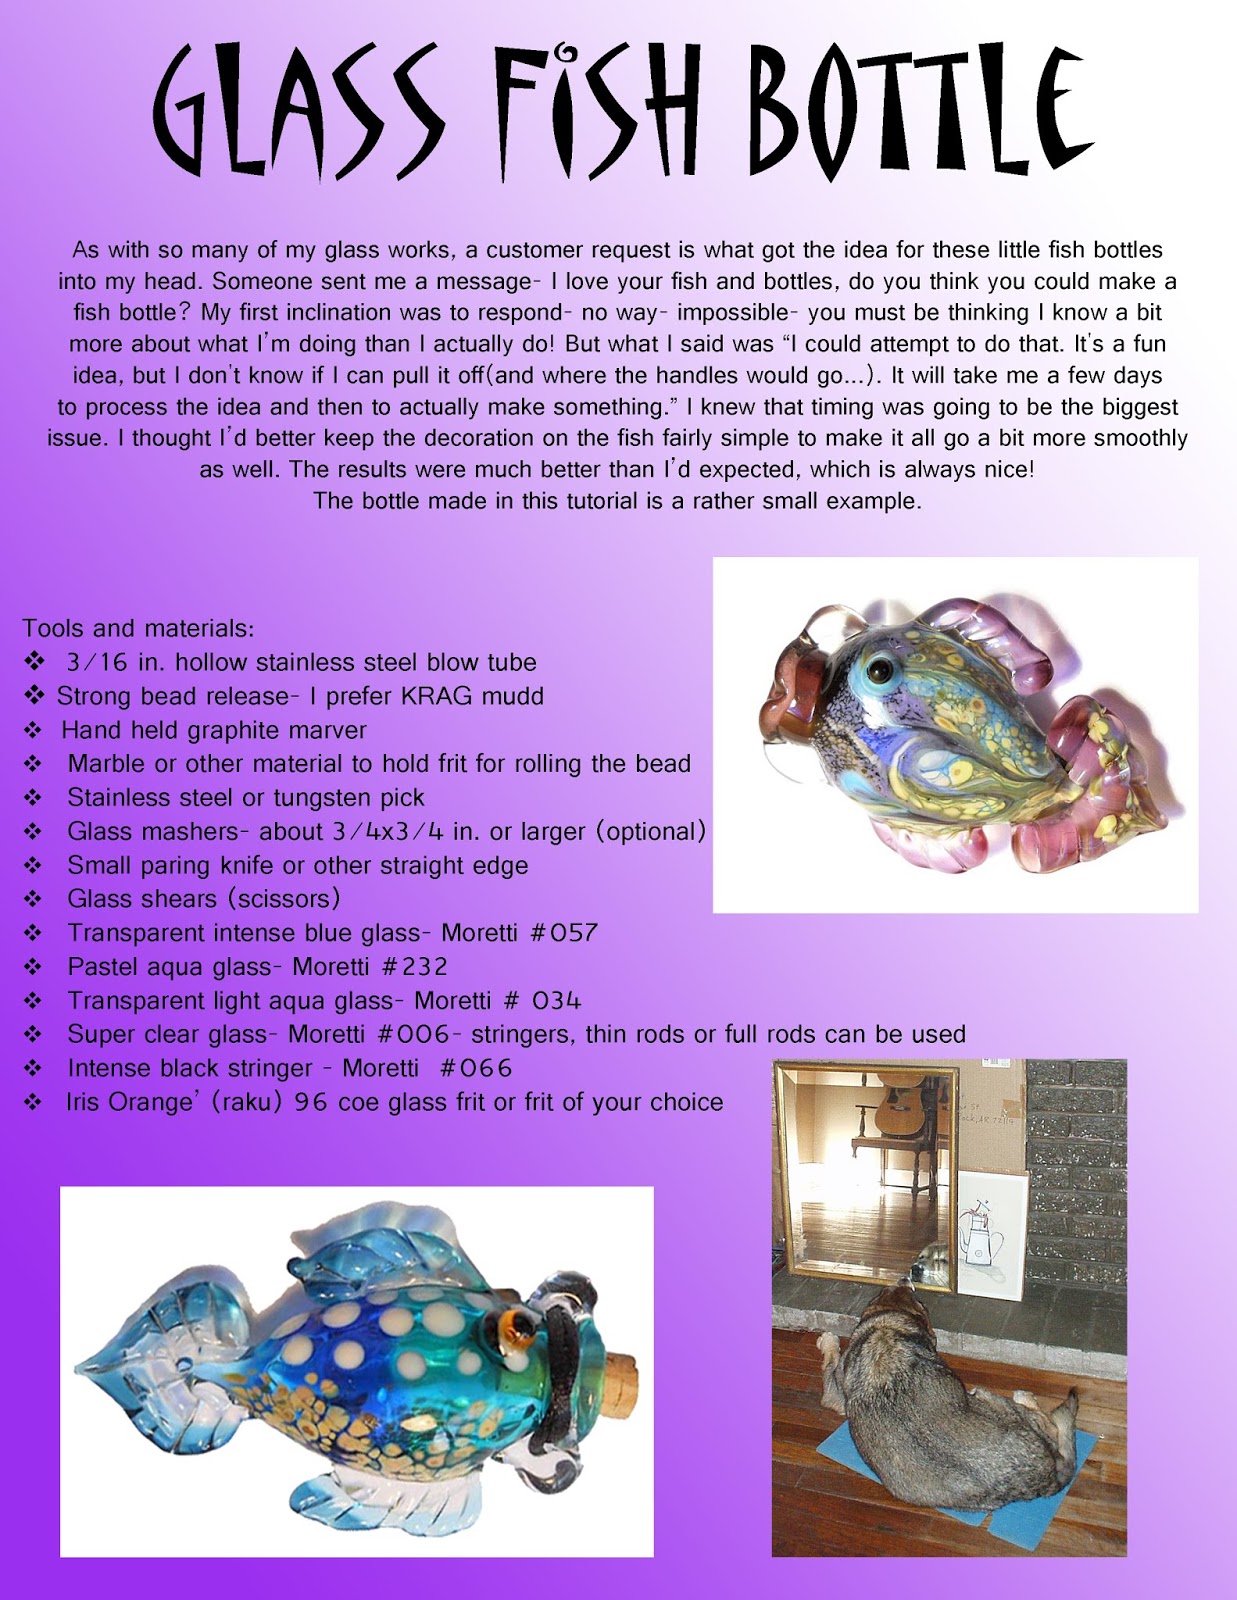
I've begun with a couple of sculptural tutorials- a Dragon's Head (Dragalope) bead and a Fish Bottle Bead. These are beads that only I make, so the instructions are all from my wee brain. I feel they give a lot of information that is especially nice for folks who want to try their hands at sculptural beads. Find all of my tutorials here: Glassbead tutorials on etsy

Mask and turtle instructions should be available shortly. These tuts have been published in a variety of places- The Flow, Soda Lime Times, Glass Bead Evolution and Glass Line to name a few. I thought it would be nice to have them all in one place!

Saturday, February 10, 2018

How to Get Clean, Clear Holes in your Lampwork Beads


Isinglass Desgin handmade glass fish bead https://www.etsy.com/listing/593000089/purple-glass-bead-fish-pendant-necklace?
Here it is, the post you've all been waiting for, where I reveal how to get really clean bead holes! Woohoo!

Once a lampwork bead is finished and taken off the steel mandrel, the sludge inside has to be removed. Folks use a reamer of some type to do this- sometimes by hand, sometimes with a dremel tool. But no matter how it's cleaned, the inside of the bead hole can look pretty gritty and almost chalky at the end of the process.
Fish hole before sanding
In a small holed bead with a solid core, this might not be a really big deal- who can see down in there anyway? But if your bead is clear or the hole is large enough that someone might be looking at it closely, it can be an issue.
Fish hole after sanding

So, what can you do about it??? One solution is to sand the inside of the beads. Here's how.

First ream the bead well and make sure all of the sludge is removed. This can be done by using diamond reamers by hand or with a dremel tool. Make sure the bead and tool are both wet when you do this.

Reamer with sandpaper
Take a tiny rectangular piece of 400 grit wet/dry sandpaper, place the long reamer (or mandrel) in the center lengthwise and fold tightly around it. Get the bead and sandpaper/reamer wet and rub back and forth lengthwise all around the hole for a minute or so. It could take a little longer if the bead is really messy inside. If that is the case, you may want to start with 220 grit wet/dry sandpaper.
Next do the same with a piece of 600 grit sandpaper. That should do it for the inside of the bead. If you would like it to be even smoother, go up to 1500 grit wet/dry sandpaper.

End reamers with sandpaper
If you want to sand the opening of the hole, take a small square of 400 grit sandpaper and place it at the tip of a small conical reamer. Rotate until smooth, then do the same with 600 grit.

At the end of this process, your bead will have a lovely smooth satin finish.


A couple of final tips ~
Use the smoothest sludge you can find to start with. For my money, that's KRAG Mudd. You will need to call them to order it. Yes, it is kind of pricey (mostly because of the shipping cost). But it will give you a decent inside surface to start with.
Air dry your sludge over night. This will also help the sludge stay strong while you work on the bead.
Black bead before sandpaper
Black bead after sandpaper
Clear bead before sandpaper
Clear bead after sandpaper


Sunday, May 21, 2017

Murrini!

My murrini is on the purple, Kaz's on the blue and orange
Oh my! I've gone on a murrini making binge. I bought a few from Kaz Baildon in England, but couldn't wait for them to arrive, so I got a rod nipper and began making a few of my own. Still working on making them turn out as I have envisioned them- right now, some come out quite nice and others, well, not so much. But, because I'm making them, I must also learn to use them. I have resisted this whole silly thing for more than 15 years! Now? Well, I may be getting just a wee bit addicted....


If you are not a bead maker or glass afficianado, you may wonder what the heck a murrini is. For your edification, I must, as usual, point you to the wiki about such things. One builds a tube shaped blob of glass using a lot of different colors, pulls it into a rod and then cuts thin bits off of it. These cross section pieces have sweet designs in them that get placed onto the hot bead. They can look like just about anything- the classic use is in a millefiori (thousand flowers) design, where piles of flowery-looking murrini are placed all over a piece. But a murrini doesn't have to look like a flower- it can be a fish, a heart, a star, your initials- anything, really!

So now on to the small touch of something I think I've learned. First, in the purple fish pictured- the murrini at the bottom is encased, while the ones at the top of the bead are placed on the surface and melted in. The encased murrini was an extremely thin slice which I simply laid on my marver and picked up with the hot bead. Because it was so thin, there was no worry about it shocking and breaking. And it was easy to melt smooth and encase. A nice use of those bits that are simply too thin to pick up, and it really shows off the design nicely.


Another cool thing is the 'barnacle effect' as seen on the tree bead. As best I can remember, I did not melt these murrini all the way down, but got them about 1/2 way melted in and then  put a blob of clear on top. Not exactly what I was going for- it looks a barnacle or eye-leafed tree, but it's a fairly fun idea that could be used effectively somewhere, I'm sure! Those wee murrini next to the tree are the ones I used on it, and my favorite pull so far- modeled after peacock tail eyes.

If you are interested in learning the art of murrini making, I can highly recommend the October 2013 issue of the Soda Lime Times. I read through all the different instructions there and ended up sort of combining things together. John Rizzi did a particularly nice job with his tut! The magazine also has murrini recipes from a whole bunch of different people. I have not attempted to follow any of those, but it was great to see see what folks do!

I use just regular tweezers ('cause that's what I've got!), but I have heard that it is helpful to have either tungsten tipped tweezers (so they won't stick) or some pipe and tube or universal cylinder tweezers from Micro-Mark. I have not tried these, but folks were pretty excited about them on facebook.

Wednesday, March 1, 2017

Reflections: the Diary of Glass Beadmaker


For the last few months, I have been hard at work writing and putting together a book. It's called 'Reflections: the Diary of a Glass Beadmaker' and is available on etsy here. 
I've added a subtitle: 'tutorials, tips and information for beginning and intermediate lampwork glass beadmakers' because it is really full of short (but complete) tutorials and loads of other stuff. There are nine tutorials included, from making a basic disk or hollow bead to encased silver fish and raked and twirled beads. There are also tips on making matched pairs, basic sculptural bead instruction and how to repair damaged beads among many other things. Kind of a view inside the beadmaking portion of my brain!

      What a surprise, and what a surprisingly large amount of work was involved! My original idea was to take a bunch of blog posts about making beads that I'd written over the years and put them all in one place. I think of it as kind of a 7 year diary of ideas about glass beadmaking. But that's not exactly what happened....

     First, I saw that I would need to re-make a lot of beads so that there would be much better photos. And then I realized that there was a lot of other information floating around in my head, notebooks and computer that folks might find useful. So the book kept growing. It ended up clocking in at about 78 pages. And I learned plenty about using 'Word' while I was at it.

Next, I sent it out to a few friends to look through and see what they thought. And to see if I made any terrible errors! Here a couple of quick assessments from them:

" I enjoyed reading it, thought it had quite a few good tips, with your personality and wit apparent."

"Got your book downloaded and speed-read through it. The following is my impression: 1) It is a very nice compilation of useful details and information; 2) You covered a lot of basics, like cleaning the rods, frit making, shards blowing, etc., etc. It would be a great text book for persons "starting" on the hobby."

" For anyone just starting out it is a wealth of information. A good resource for where to find answers to questions they might have. While at the same time it is a wonderful reference for anyone who has been torching for a while and needs a refresher for something they haven't done in a long time. I also like that you put in info for folks who have been just hobbyists and want to get a little deeper into the craft for teaching and doing shows."

"The last part of the book (almost 15 pages) is about managing schedules, set up for bead shows as well as some of your thoughts on designing of a bead, which is more than any beginner would be able to appreciate or be interested in."
 
" Your book certainly covers a wide range of the topics that all bead instructors should address."
  
"This book is AMAZING - you make me want to get back into beadmaking!!"
 
So, here's an outtake from the introduction explaining a little about the book.


      Because much of this information comes from my blog, it is available publicly. Blog publication dates are included here for general interest, but things have been reorganized in a more sensible order. There are many updates, lots of new photos and information; things like how to make masked patterns and twirly bits on the side of a bead. Also included is a short treatise on inspiration called ‘Keep Your Mojo Workin’ as well as notes for giving demonstrations and classes for those ready to move out of their studios and into the public arena.

      This is not a beginner’s instruction book for making beads, but rather a book for advanced beginners and mid-range lampworkers. It includes ‘beyond basics’ ideas and mini tuts to teach technique rather than how to make a specific bead. There is no list of colors used; you will choose those yourself. This is meant as, hopefully, helpful information to help bring your beads to a new level. Have trouble with sculptural beads? There are general tips as well as instructions and photo tutorials to make butterflies, fish, leaves and hollow beads.

      It all begins with a few basics, which you may already know- an intro to lampwork, a glossary and primer to help you find the things you need to start your own beadmaking journey. Tips on making a first bead,  good for both students and teachers, cleaning your glass, making shards and frit are included in the ‘basics’. Then there are some more difficult techniques, such as rescuing beads that have broken bits and using rubino oro.

      In the ‘Rambling Thought on Beads, Art and Business’ section near the end, there is general information about things as varied as bead wear-ability, the theory behind deliberate mistakes and button technology. In the standard blog style, there are outside links for further reading on many of these subjects. Most of these missives are simply things I think I’ve learned during the many years of my beadmaking journey. A little window into my thought patterns will be opened to you.