Showing posts with label earrings. Show all posts

Wednesday, March 14, 2018

Product Review- Bead Buddy 1 Step Ear Wire Maker

I went to the local crafty store the other day and saw an ear wire maker on clearance. I figured $13 wasn't too much to spend for something that could make my life a wee bit easier. I'm here to tell you what I think!

In general, I like it- the directions are simple and it's easy to use. It says it can be used for 20, 22 and 24 gauge wire and works well with the 20 gauge sterling silver wire I use. Since I paid just a pittance for it, I'm happy. This makes simple, basic wires, which I do use for a lot of my earrings. Here's a youtube video showing how to use this tool. And now for my list of the good and bad.

  • Easy to follow directions. 
  • Works for the 20 gauge sterling wire I use.
  • Tends to pop out of the contraption. Hold in  gently at the tail end.
  • Loop for bead is not round, it is more teardrop shaped. The picture on the package shows a nice round loop, but I have not been able to achieve that. 
  • To make loop rounder (instead of teardrop shaped), wire should not be pushed all the way to the end of the tool.
  • Wire can be cut to the suggested 2 inch size, or use a long piece of wire and cut to length after it is shaped. If wire is cut to 2 inches, the 'tail' at the back end is rather longer than I like. If cut afterwards, there is little wire waste.
  • Wire is a little hard to remove- placing a fingernail under it as shown in their instructions is pretty well essential.
  •  There are a lot of moving parts- we'll see how long it lasts!
Be sure and file both ends of your wire- the loop end just to remove burrs, but the end that goes through the ears needs to be finished very smoothly.

Here's how the look compares to a commercial ear wire- I like the fact that these wires are longer in the back to help counterweight the heavier glass beads and make it stay in the ear better.


Wednesday, August 8, 2012

Wing-y Earrings

 After the winglet I posted in my etsy shop the other day got such nice comments, I decided to try making a pair of mini winglets for earrings. But my mind is spinning with questions.
First- Should the hole be this size or should it be a lot bigger? In other words, should the hole be more a part of the design of the bead? The holes on these are much larger than on a regular bead, but I get the feeling that they could be even larger.
Second- How should these be bailed? Just a jump ring through the hole, or more like these leaf earrings? Doing them like the leaves leads me to the next question.
Third- Which way are earrings like this supposed to face? I've always bailed them so that they face the front- parallel to the front of the face. But I have seen earrings that face the side- perpendicular to the face. Which is correct?
Fourth- these are a little bit different in size. One is a bit wider. I'm passing them, but wonder what others think.

I'm open to ideas and suggestions about how to make these babies work!

Monday, July 2, 2012

A Match Made- Well, at the Torch!

This is the finished pair.

Last week I put some pictures up on facebook of pairs of fish I was working on for earrings. I get a little particular when I'm looking for earring pairs. I can take a bit of variance in design, but the size and shape have to be fairly close. So I thought I'd fill y'all in on what I do to attempt to achieve that.

The first part is easy- make a wee fish! First- I count the number of wraps of glass I start the bead with, then take a good look at my starter bead and try to remember the size. I do give it a little bit of a measure against my graphite paddle (for all the good that does me...)
While I'm doing that I attempt to put all the rods down on the table in the order that I used them- so when I go to make the match it should be much easier (except that in the flurry of making the fish, I often make a few mistakes- so I still have to think!).

Here's a picture of some lined up rods. But they were kind of wrong. At least all the colors were there. The next thing is to find a way to measure so I know what I'm aiming for. Need to know both length and height, so I lay it across the graphite paddle again and mark it in my mind.
The first fish goes into the kiln and then I have to put on my thinking cap and cross my fingers.

Hmmm... I made three fish, but I have a bad feeling there is no match there. On to the next trick. Instead of blindly making more, I take the precaution of writing down everything I did just in case I need to try again the next day- which I did. Good luck trying to understand my goofy notes. But it did help. Gave it a read through, brought both of the beads to the torch for comparison, and got to work.

Whew! I think I got it- well close enough for lamp-work!

Monday, June 11, 2012

My Daughter's New Etsy Shop!

A quick note to tell y'all about my daughter's new etsy shop. Yep, she's joined the ranks of the etsy-ites.

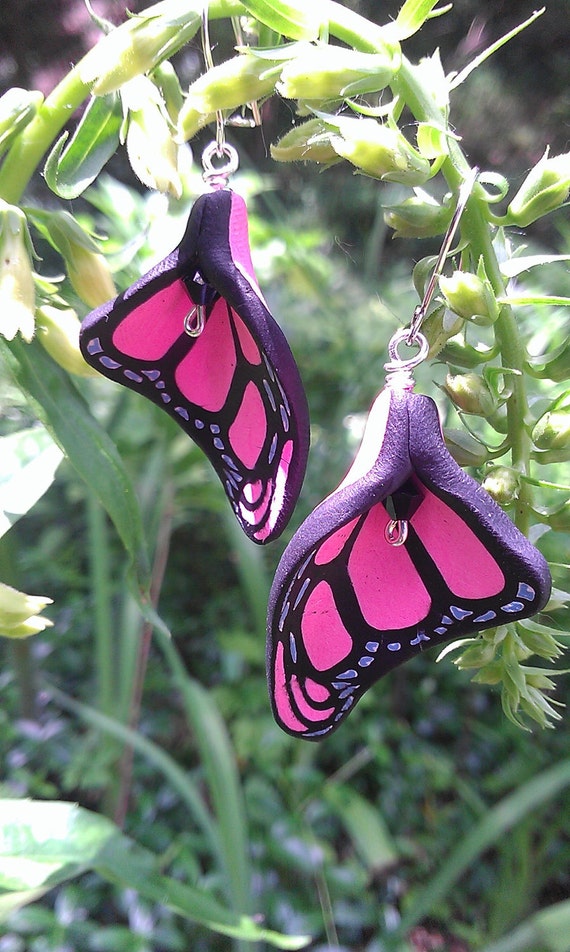
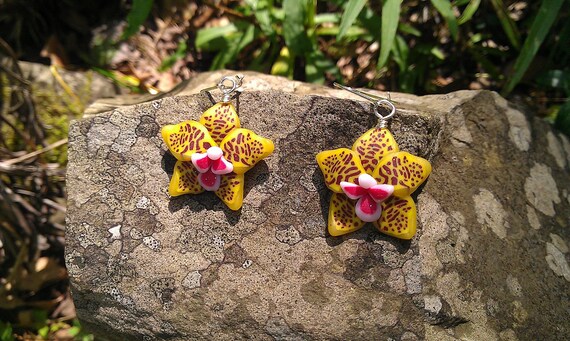
She's started making her own polymer clay cane, and is currently making earrings using them- butterfly wings , flowers, fish and sugar skulls. More to come soon, I'm sure! Go take a look at her etsy shop, TheRedQueensGarden. And you can 'like' her business page on facebook as well!